Step TWo
Designing, Planning, and Layout
DEsigning
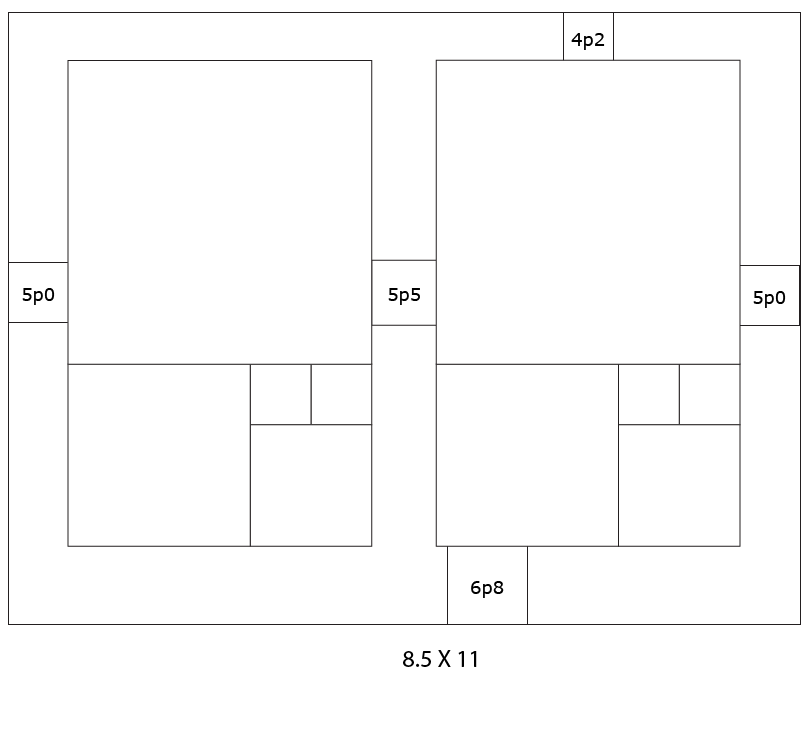
I use the Golden Rectangle with its 1:1.618 ratio to help define what the block of text on a page ought to look like. To make text appear in that rectangle across a landscape page, the vertical height would be much too short on an 11 by 8 ½-inch page. I set the margins and the width of my columns so that they define the rectangle on each page. Typically, I think you will find that the bottom margin of books is the widest, the side margins less than the bottom and the top margin the smallest. You will also find exceptions to these guidelines. My design uses 11-point Palatino on a 14.75-point high line so that the text runs from the very top invisible line of the rectangle and sits on the very bottom invisible line of the rectangle. The headers and footers sit outside (above and below respectively) of the rectangle.
Planning
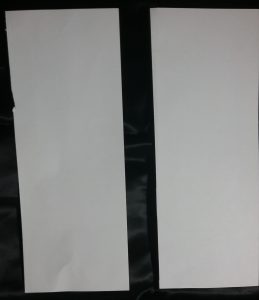
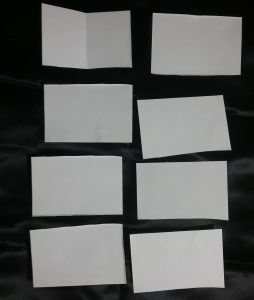
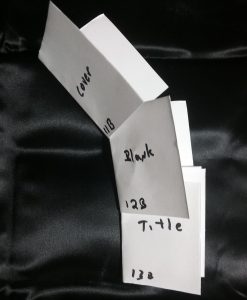
Prepare a dummy book to identify what will appear on each page on the back and fronts sides of each piece of paper in each signature. I do this by cutting an 8½ by 11-inch paper lengthwise in half and cutting the two halves into four equal pieces to make eight 4.25 by 2.75 inch dummy pages, which I fold into a signature. I name each page by its position in the signature so that the back of the first page in the first signature is 1 1 B and the front is 1 1 F. The right-facing page of 1 1 B is blank because it appears after the cover. The left-facing page of 1 1 B is the thirty-second page in the book. The right-facing page of 1 1 F is the thirty-first page in the book and the left-facing page is the second book page. 1 2 B holds a blank page and page 30 while 1 2 F holds page 29 and a blank page. And so on, to identify where all the front matter goes and where the book body text begins, flows, and ends. I like chapters to start on right facing pages, which are always odd numbered pages.
Layout
The first layout program I used was Ventura Publisher in the DOS black-screen non-interface. The first time I made a hand-made book, I laid it out using PageMaker, which required me to print the front pages, turn them over in the printer, then print the back pages. Today we have two-sided printing and InDesign is my choice of layout programs, though any other should do fine. I’m even told you can use Microsoft Word, but I have not worked that out yet. I am not going to describe how to use InDesign or your layout app; seek out Adobe or your app’s maker for that.

To layout your book:
- Create a new file and set the margins you designed for the landscape pieces of paper (remember, there are two pages on each side).
- Create four Master pages A, B, C, and D with eight equally spaced dots down the exact center of each:
A-with header/footer text on both sides of the header or footer;
B-with header/footer text on the left facing page (upper/lower left corner) only;
C-with header/footer text on the right facing page (upper/lower right corner) only; and,
D-with no header/footer text.
- Following your dummy layout plan, assign each page a Master as is appropriate, enter its page numbers as appropriate, and discreetly label each as 1 1 B, 1 1 F, 1 2 B, 1 2 F, and so on to 10 80 B , 10 80 F.
Note: 10 80 F is the middle of the tenth signature. 11 88 F would be the center of the eleventh signature and so on.
- Place and format the content as planned.
- If desired (like me) edit the white space to eliminate widows and orphan lines (a line left behind at the bottom of a page or a line left abandoned at the top of a page).
- If desired, remove the discrete labels on each page (I leave them to help me order the pages after printing).
- Print and proof before building your book (Step Four, which involves stitching and gluing).