Step Five
Building Your Book
Building a book requires completing the following seven activities:
- Fold and sew the signatures.
- Glue the spine between signatures and set the muslin in place.
- Attach the front and back cover boards.
- Prepare the cover.
- Attach the cover.
- Fold and attach the cover edges.
- Add the front and back inside pages.
Fold and Sew Signatures
Materials needed:
Printout of book on 20# white paper (I use 92 bright recycled), bone folding tool, waxed thread, book sewing needle, an awl, three seven-inch pieces of 5/8 inch wide ribbon, scissors.
- Fold each page exactly down its center (landscape so at 5.5 inches) with the F (front) page inside the fold and collect them into eight-page signatures (compress them under weights until they are very flat).
Note: This example is a 10-signature book. - Before sewing each signature, use the awl to poke eight holes at the indicated points through all eight pages. This is best done just before sewing so that the holes stay aligned.
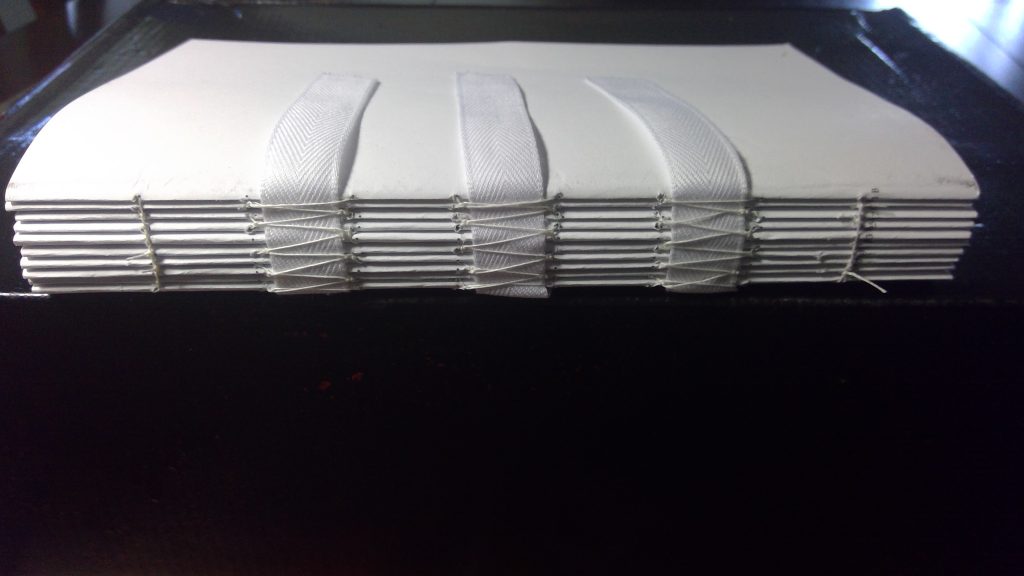
- Using enough thread to sew five signatures (five times eight-and-a-half inches plus extra to be sure) thread the book sewing needle and weave the thread in and out of each hole in the top (or bottom) signature. Leave enough thread out the first hole to use for tying to the next signature (an inch-and-a-half or more).
- Insert three seven-inch pieces of ribbon through the outside lengths of thread between each hole.
- Stack the next signature on the previous one (be sure the pages follow in order) and continue to weave the thread through its holes but at each exit to the outside, tie a double hitch (square) knot to the previous signature’s thread including one at the end hole. Be sure to keep the thread taught throughout and the ribbons inside the thread.
- Hint: Make the knots from the bottom to the top going from left to right and from the top to the bottom going from right to left.
- For next set of Signatures (6 through 10 for a 10-signature book), re-thread your needle and double-hitch one end to the first set’s thread at the next-in-turn hole.
- Repeat Steps 5 and 6 until all the signatures are tied together.
Glue Spine Between Signatures and Set Muslin
Materials needed:
Adhesive*, paint brush, wax paper, one 7 by 7-inch piece of muslin cloth.
- Examine book for completeness and order. After this process the book cannot be saved.
- On a flat surface, stand the book on its outside edge so that the spine is accessible.
- Paint glue (not runny; runny adhesive will seep too far into the connecting pages) between the signatures skipping over the ribbons OR Open to where signatures meet and put a thin line of adhesive on each inside edge and align and hold their inside edges together. Let dry.
- Stand the book on its outside edge so that the spine is accessible and saturate each ribbon with adhesive at the spine and with the 7 by 7-inch piece of muslin centered top to bottom and side to side, attach the muslin to the spine at the ribbons.
- Protect the front and back pages with wax paper placed between them and the ribbons and saturate each ribbon with the adhesive (still not runny) then fold the 7 by 7-inch piece of muslin onto the ribbons on one side and add adhesive to the muslin over each ribbon. Let dry and then repeat for the other side.
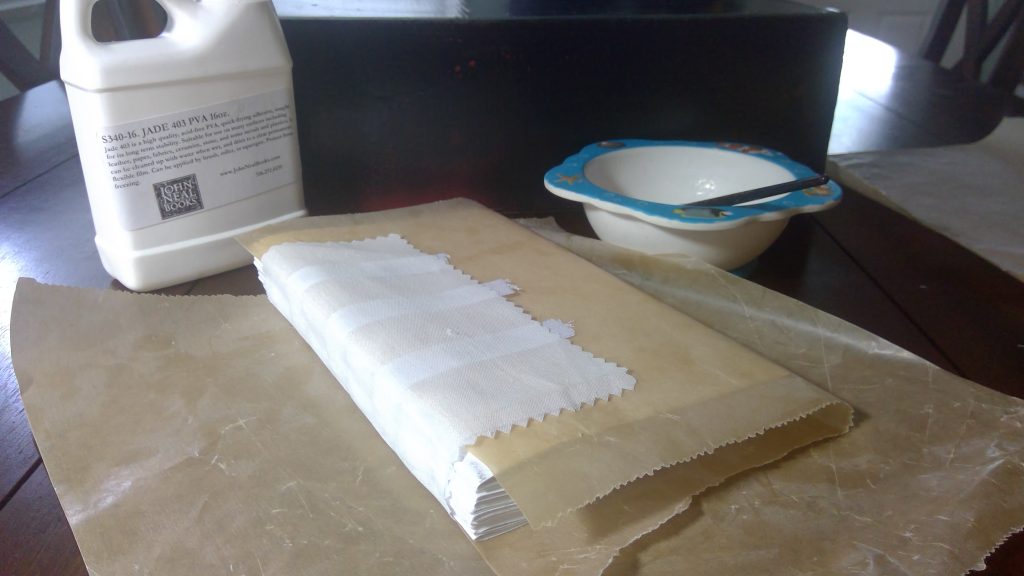
* I use S340-16 JADE 403 PVA from John Neal Books.
Attach Front and Back Cover Boards
Materials needed:
Two 9 by 5.5-inch pieces of 70 pt Davey board, straight edge measuring stick, adhesive*, paint brush, and wax paper.
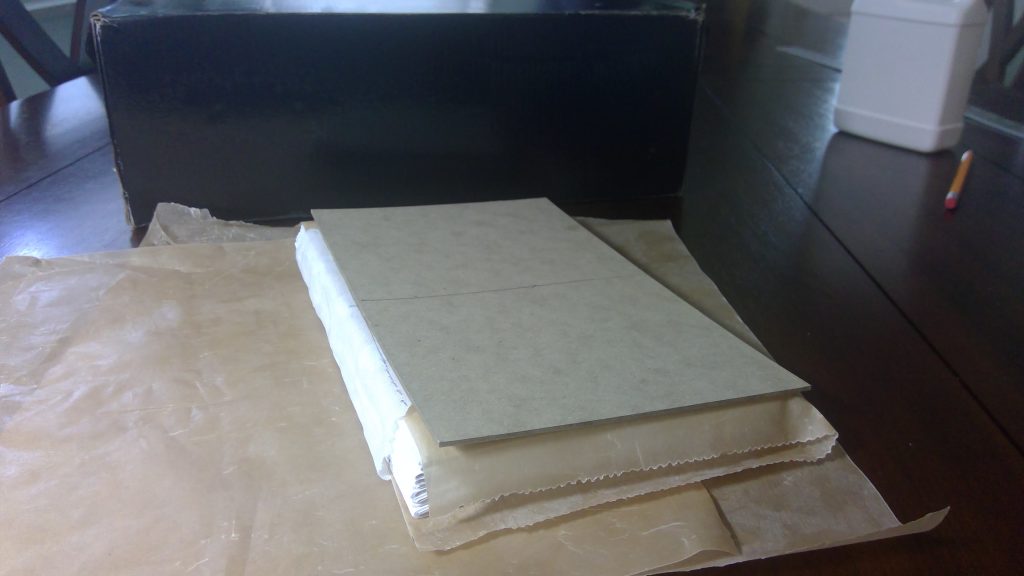
- Measure and mark the half point (4.25 in.) of each book’s muslin and (4.5 in.) each cover piece of Davey board.
- Separate the muslin from the first or last page of the book with a piece of wax paper that will keep glue off the first or last page.
- Using adhesive that spreads smoothly with up to a 2-inch brush, soak the outside of the muslin and attach each cover .25 inches from the spine and centered on the book. It should hang over the edges of the book by .25 inches on three sides.
- Repeat Steps 1 to 3 for the other side of the book and press until dry.
- Open the book to its center (between the 5th and 6th signature and, if needed (the glue from Step 2 may not have covered all gaps between the signatures) draw a bead width line of adhesive on the inside edge of each signature’s facing pages.
- Repeat Step 5 for the 1st and 2nd signature, then the 9th and 10th signatures then the 2nd and 3rd then the 8th and 9th and so on until all the signatures are stuck together.
* I use S340-16 JADE 403 PVA from John Neal Books.
Prepare the Cover
Materials needed:
One 9 by .75-inch 70 pt Davey board (actually, the width of the book’s spine), 11 by 17-inch color print of the cover, adhesive*, paint brush, and wax paper.
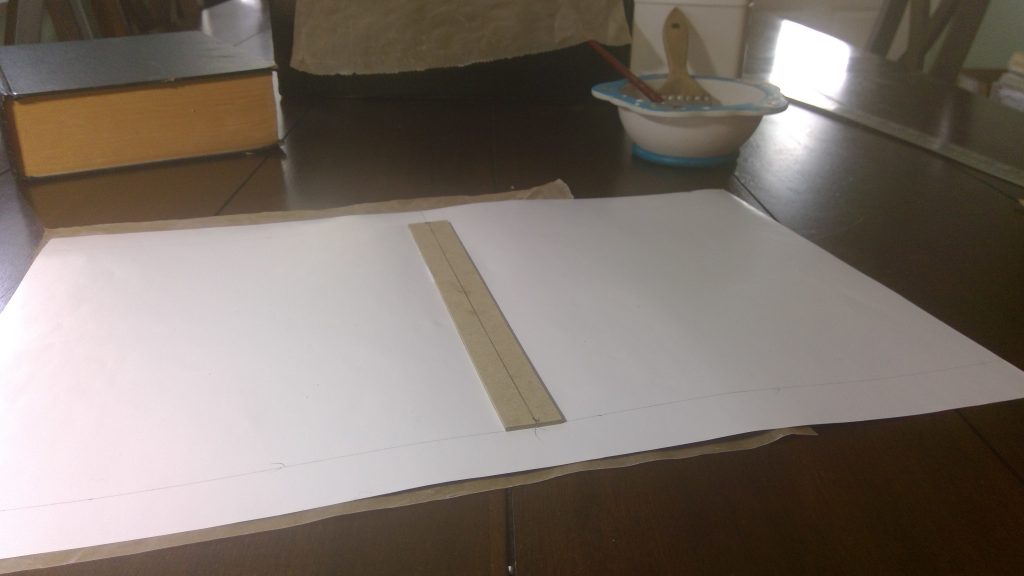
- Measure from each edge of the cover where the center of the spine text is and on the back side of the cover, measure and draw a line to mark the spine center. If the design is correct this should be the center of the cover page.
- Measure and draw two lines one inch from the top long edge and bottom long edge of the cover.
- Measure and draw a line down the center of the Davey board.
- Apply adhesive to the side of the spine Davey board without the line and attach it to the cover with the center of both aligned and one inch from the top and bottom of the cover page.
- Press until dry.
* I use S340-16 JADE 403 PVA from John Neal Books.
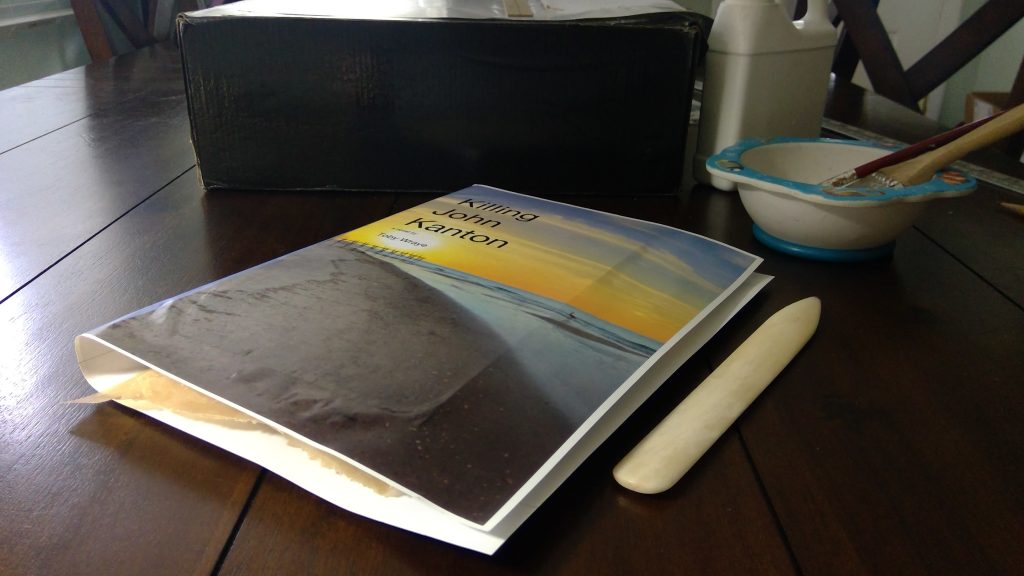
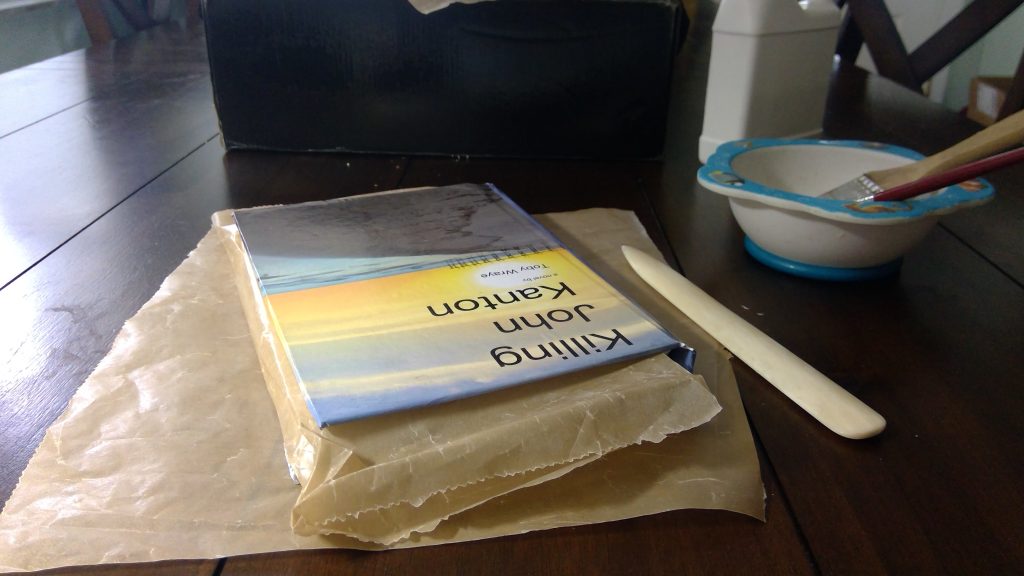
Attach the Cover
Materials needed:
Bone, scissors, straight edge measuring stick, adhesive*, paint brush, and wax paper
- With the front matter of the book aligned with the front of the cover and the back page of the book aligned with the back of the cover, align the spine of the book with the Davey board on the back of the cover page and fold the front and back of the cover up over the front and back cover Davey boards. Make certain the spine remains aligned with the cover page Davey board and the book Davey boards sit one inch from the top and one inch from the bottom of the cover page; that is, centered.
Note: Make certain the front cover will be covering the front of the book and vice versus.
- With one side on the table holding down the cover, using the Bone or other thin firm tool, impress the dent expected between the spine and the start of the cover.
- Spread adhesive entirely over the outside of the cover Davey board and maintaining the dent at the spine, use the Bone to evenly attach that half of the cover page to the Davey board.
- Turn the book over and repeat Steps 2 and 3 for the other side of the book.
- Press until dry.
* I use S340-16 JADE 403 PVA from John Neal Books.
Fold and Attach Cover Edges
Materials needed:
Bone, scissors, straight edge measuring stick, adhesive*, paint brush, and wax paper
- From both outside edges (not the spine) of the book, measure and draw a line one inch from the edges and another line from the edges to the top and bottom of the cover page.
- Cut off the edges of the cover page so that one inch extends from either edge of the book.
- At either end of each edge, cut a 45-degree angle between the one-inch line and the line even with the book’s edge.
- Fold the top and bottom of the cover page over the top and bottom of the book. You will need to tuck the paper under the book’s pages at the spine. With the wax paper still protecting the first or last page of the book, apply adhesive and press this folded section to the book. Let dry before continuing.
- At the top of the remaining one-inch sections of the cover page not yet attached to the book, fold the corners in to make a 45-degree angle with their bases aligned with the edges of the book.
- Fold the one-inch section into the cover, apply adhesive and attach so that the entire cover page enfolds the outside of the book and at each corner is a 45-degree line of folded paper.
If the design is correct, the front cover material, back cover material, and the spine material should all appear in their correct positions.
- Press and let dry.
* I use S340-16 JADE 403 PVA from John Neal Books.
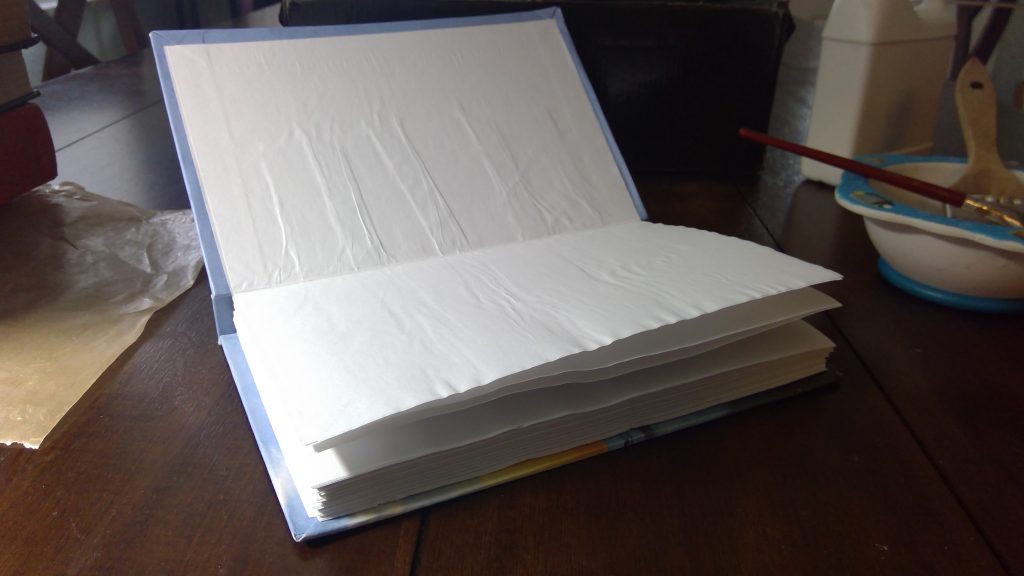
Add Front and Back Inside Pages
Materials needed:
Bone, scissors, two 8.5 by 11-inch pieces of paper (may be decorative), adhesive*, paint brush, and wax paper
- Open a cover of the book and with the wax paper still protecting the first or last page, apply adhesive to the surface of the inside cover so that all but .25 inches on the three outside edges have wet glue on it. This includes the muslin.
- Position the 8.5-inch (short) edge of the paper approximately .25 inches from the 9-inch edge of the book cover so that the tips of the paper align with the 45-degree lines at each corner. In a perfect world this is .25 inches from the edge of the book outside cover.
- Press to smoothly attach the paper to the inside of the cover such that the second half of the paper will cover the first or last page of the book.
- Move the wax paper above the inside page to keep any glue off that half and fold the cover closed at the same time folding the paper in half. Repeat Steps 1 to 4 for the other side of the book and let dry.
- Open a cover of the book and move the wax paper below the book’s first or last page to expose the gap between the inside page and the first or last page of the book.
- Apply a thin line of adhesive to the edge of the first or last page and press the inside page’s edge to it.
- Repeat Step 6 for the other side of the book and press to dry.
* I use S340-16 JADE 403 PVA from John Neal Books.